English
English

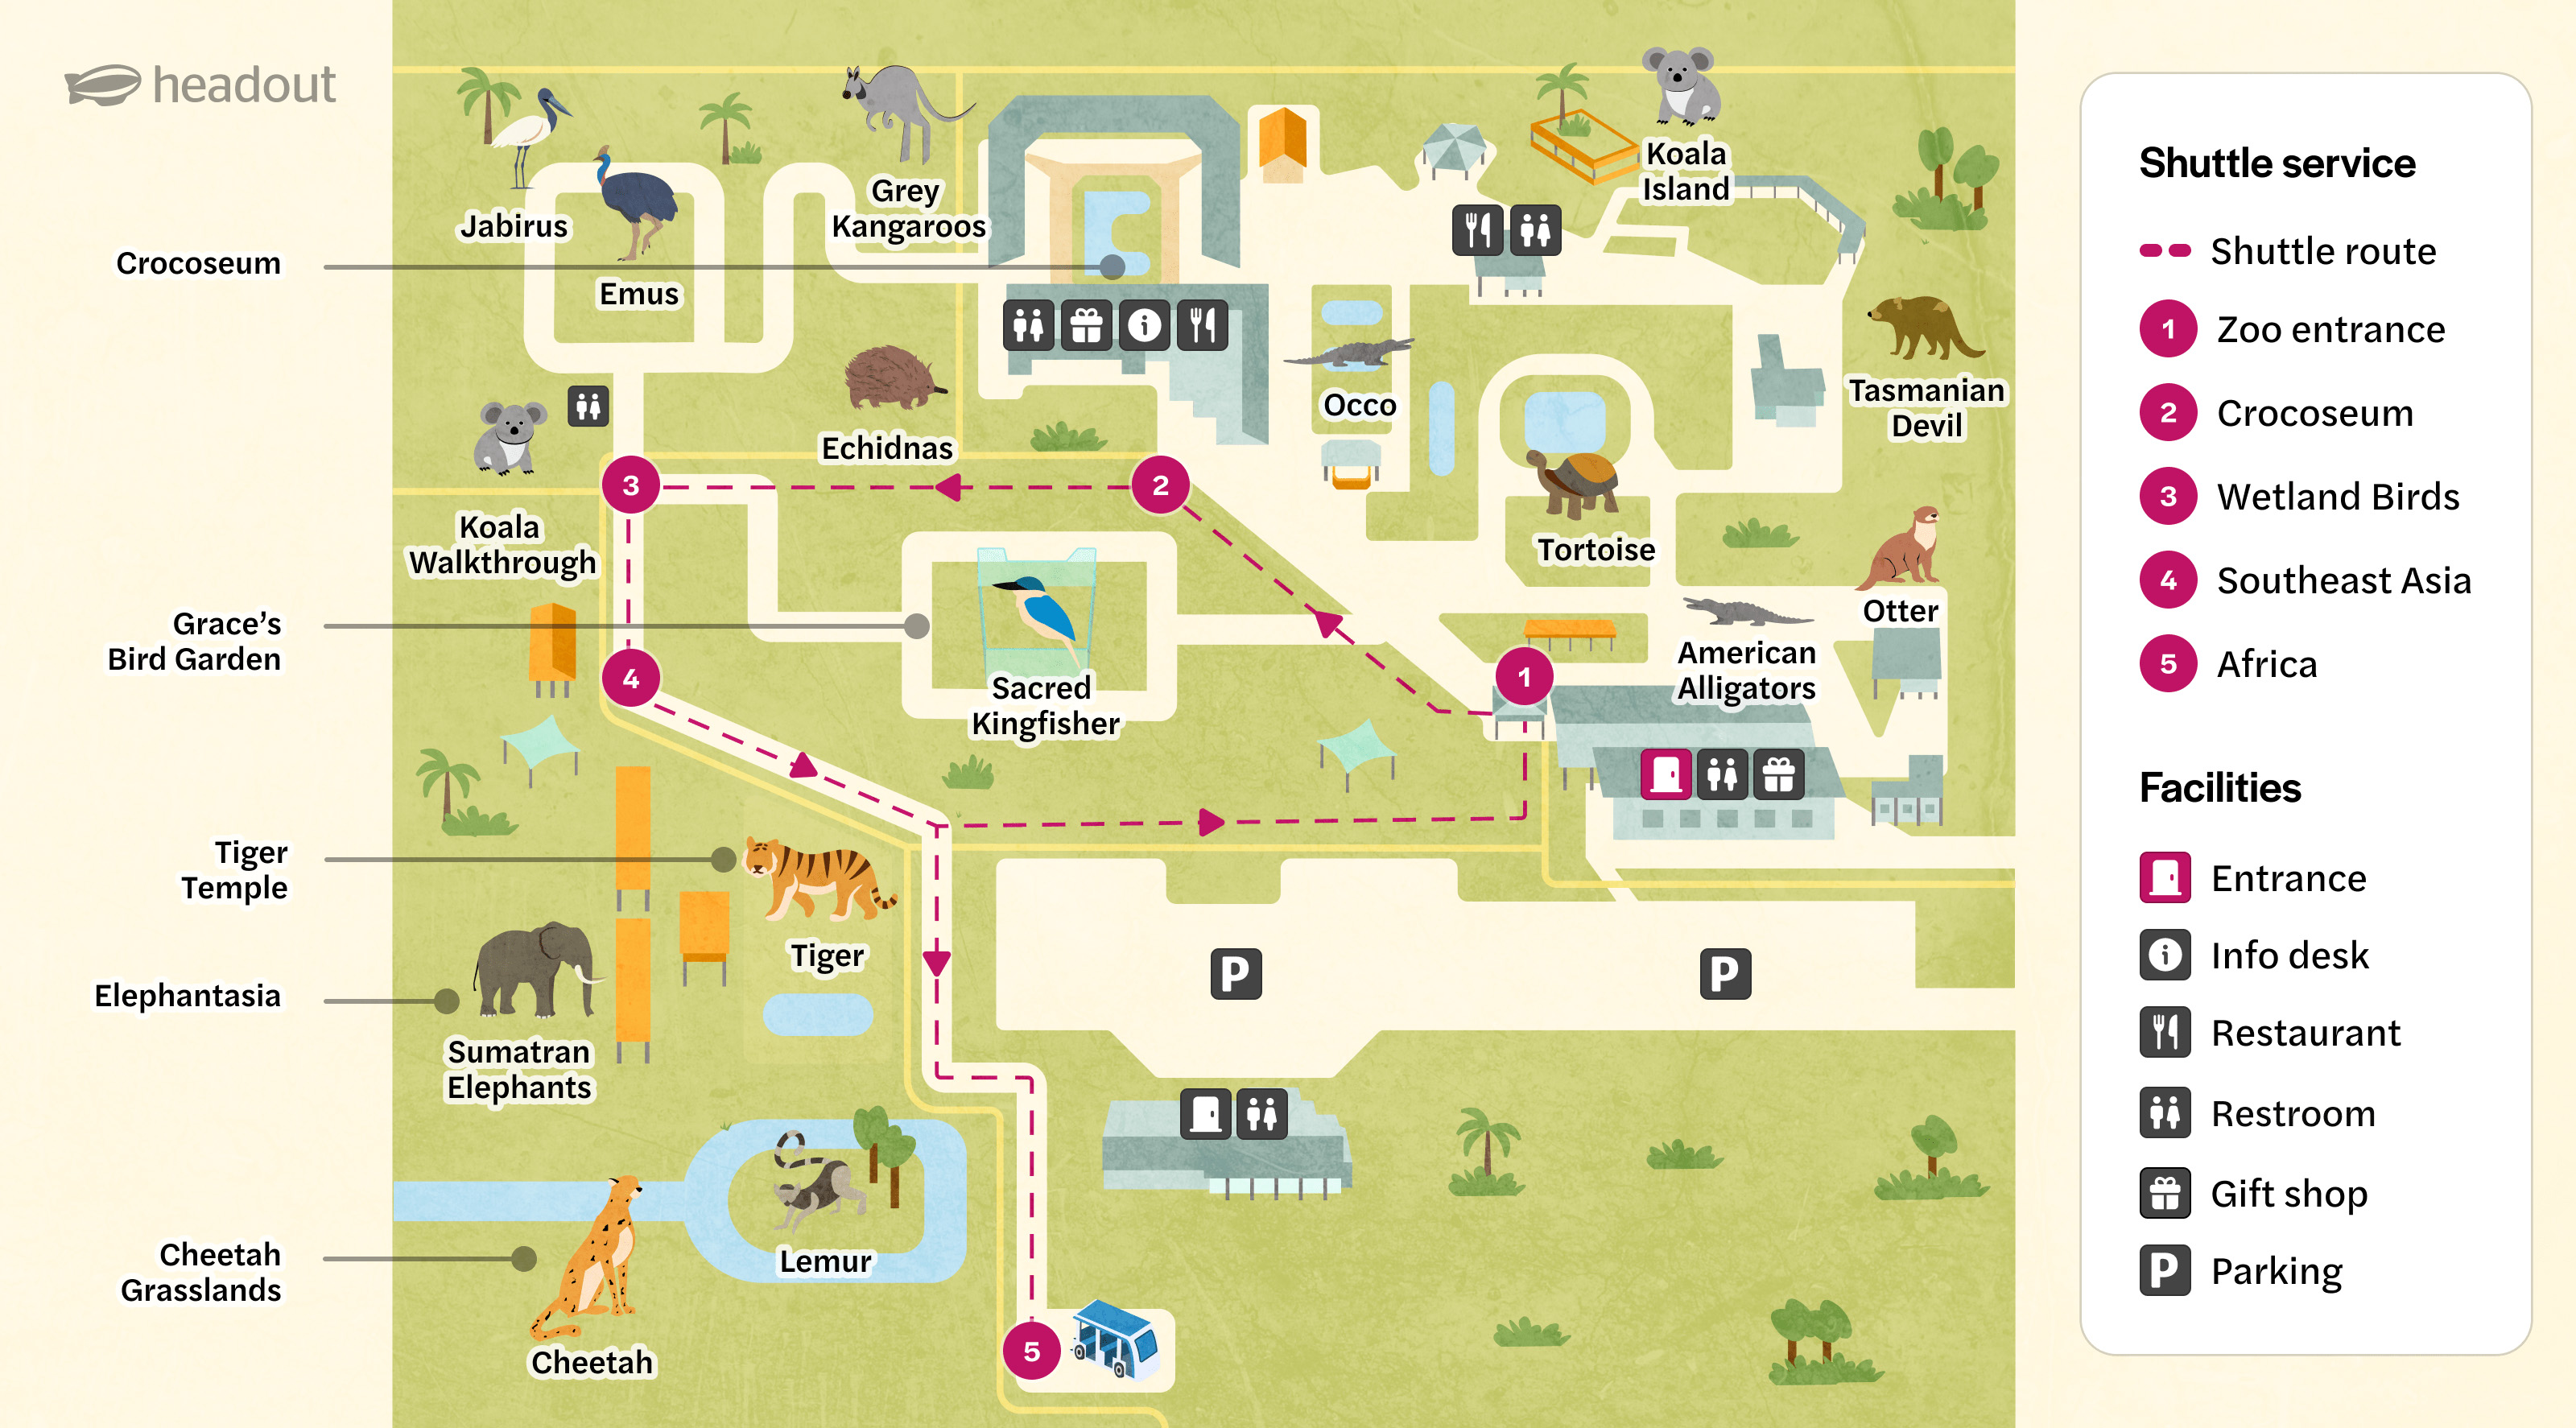
Australia Zoo takes you on a unique journey through its wildlife habitats, hands-on encounters, and conservation-focused attractions. From hand-feeding koalas to watching crocodiles leap at the Crocoseum, every corner of the zoo promises something special. This map guide helps you navigate the park with ease so that you can plan your day and enjoy everything this Sunshine Coast destination has to offer.

Inspired by Angkor Wat, this temple-themed zone offers glass and underwater views. It’s a dramatic jungle environment made for up-close tiger encounters.
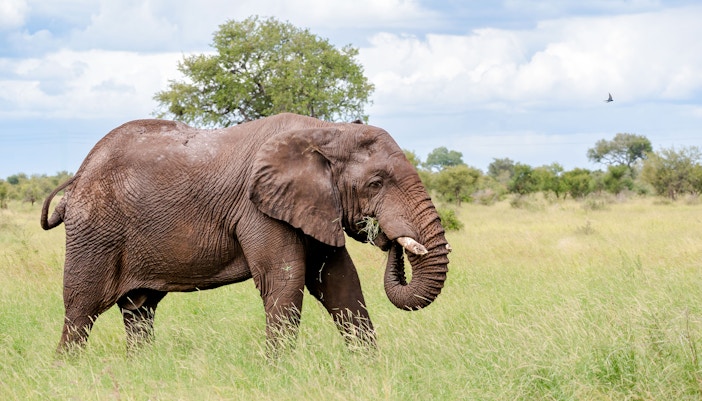
This 12-acre rainforest oasis has wading pools, shade gardens, and fountains. Built to reflect a tropical Asian habitat, it’s one of the zoo’s largest zones.

Wander through a treetop aviary filled with vibrant Australian birds. Nearby, see powerful raptors fly in action-packed daily bird shows.
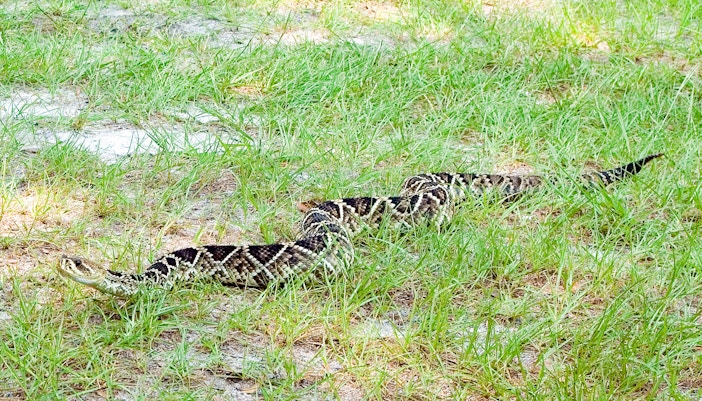
Step inside a climate-controlled space with 16 terrariums and more than 20 cold-blooded species. Learn and observe reptiles up close in comfort.

This three-story treehouse lookout offers sweeping zoo views. It’s playful, imaginative, and built around a giant fig tree inspired by Irwin family adventures.
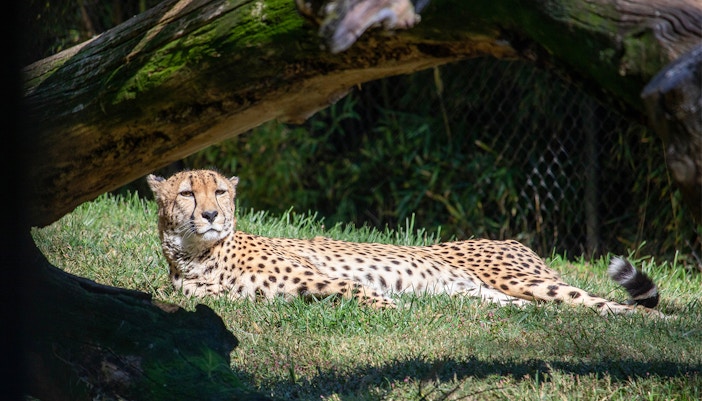
Spanning 2.5 acres, this grassland habitat is designed for speed and space. Guests can even try to “race” a cheetah in an interactive display.


You can view or download the Dreamworld park map directly from this page! We’ve included a clear, easy-to-read version so you can plan your route, find your favorite zones and shows, and make the most of your visit.
The map highlights all major exhibits (like Crocoseum, Bindi’s Island, Koala walk-through, aviaries, African Savannah), dining spots, playgrounds, amenities, and signage for planning your zoo route effectively.
Use the map to locate animal-feed times, plan rest stops near food & water stations, and plot shorter walking loops to save energy while enjoying top attractions.
Definitely! Start by choosing a few highlight zones: Crocoseum shows, Koala and Kangaroo walk-throughs, and Bindi’s Island. Use the map to minimize backtracking and maximize wildlife time.
Yes! With a map in hand, clearly marked signs, and friendly staff stationed throughout, you’ll have no trouble finding your way, even without a guided tour.
Absolutely. Many guests print the map beforehand or screenshot it and mark it digitally with must-sees and feeding times—super useful for kids or groups.